Verdict
A little more basic than some of the competition, the SwitchBot mmWave Presence Sensor’s advantage is that it’s very cheap for a presence sensor. If you’ve got a SwitchBot Matter compatible hub, this is a cost effective way to get reliable presence detection throughout your home.
A proper presence sensor, the SwitchBot mmWave Presence Sensor is surprisingly cheap. In fact, it costs less than some basic PIR motion sensors. In theory, then, that makes this device cheap enough to spread throughout your home.
Getting the price down does mean some compromises, including slightly fewer features outside of the SwitchBot app than inside it, and a reliance on Bluetooth. Those aside, should you buy this rather than a basic motion sensor? Read on to find out.
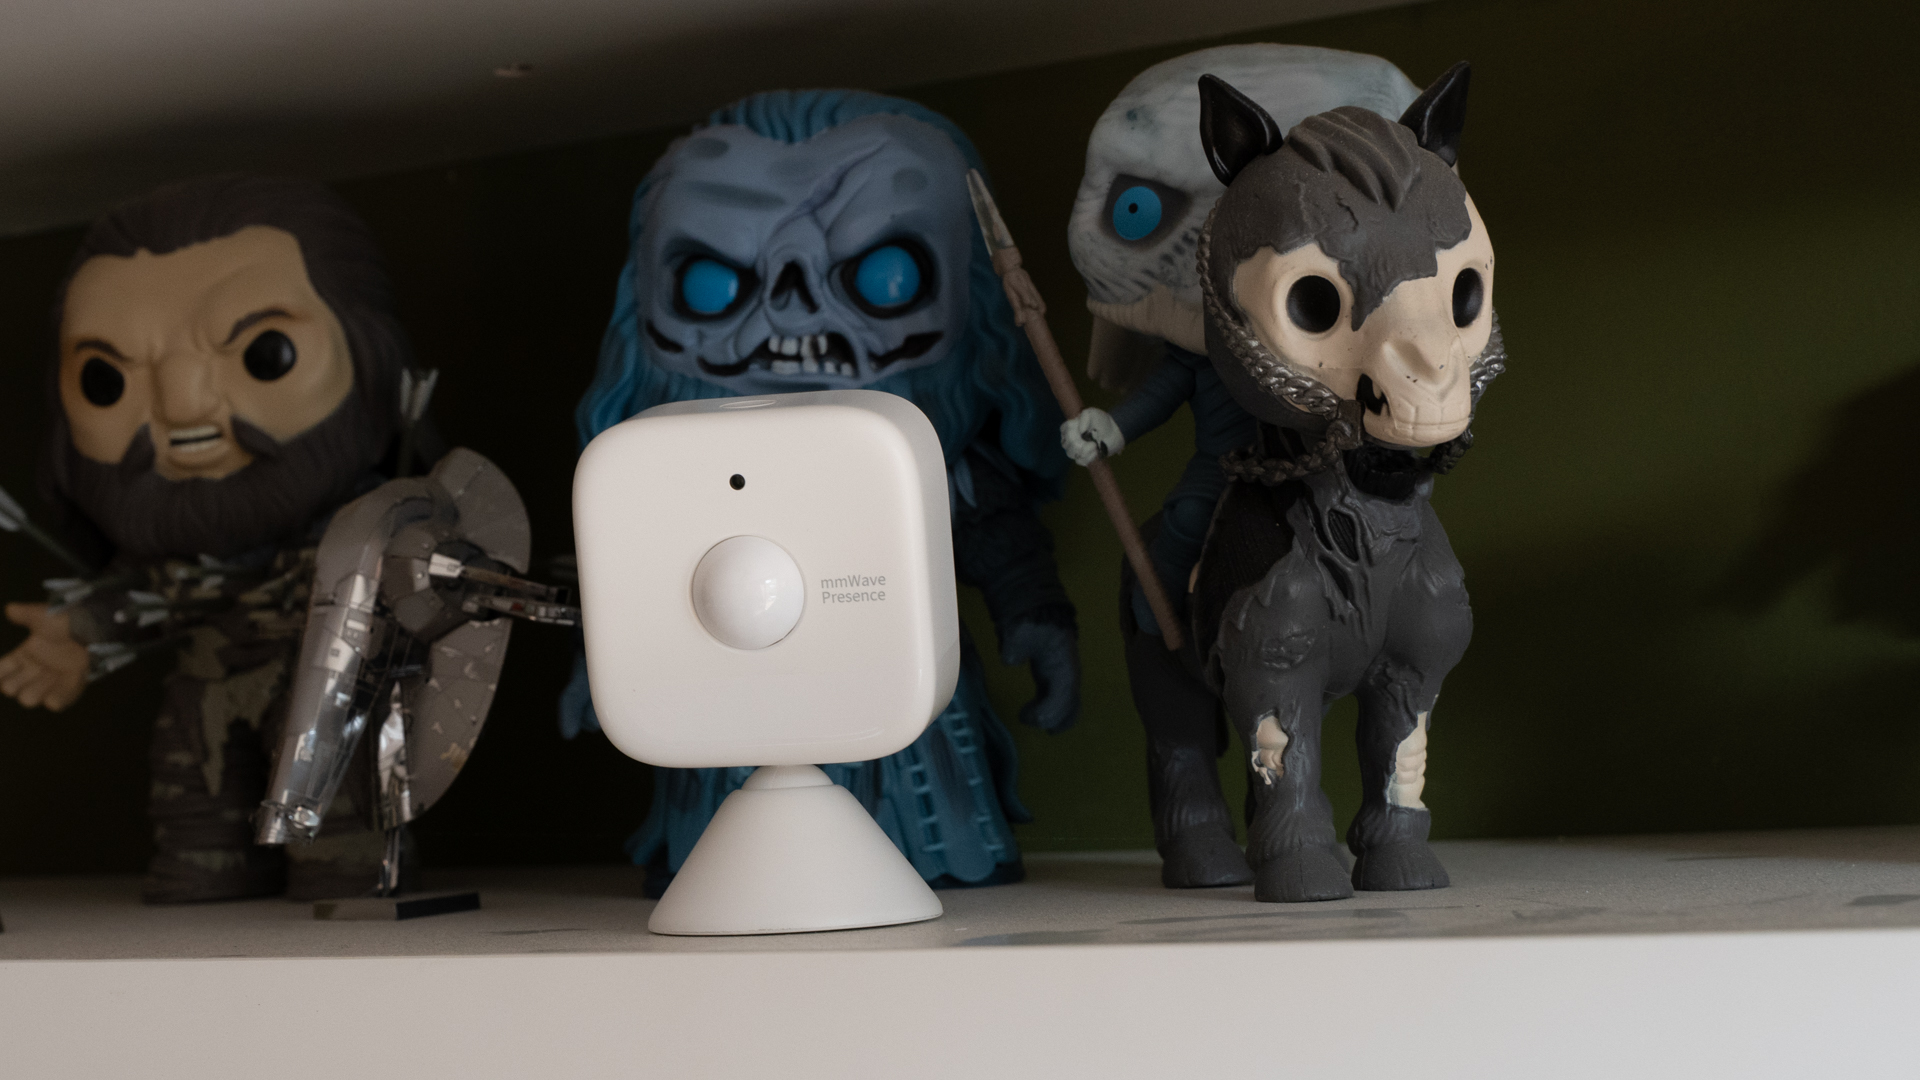
Impressively, the SwitchBot mmWave Presence Sensor is a tiny sensor, no bigger than your average motion sensor.
It comes with a handy stand, which can be clipped to the bottom of the sensor for desktop or bookcase use, or you can clip it to the back of the sensor for wall or ceiling mounting (sticky pads provided in the box).
This sensor runs on two AAA batteries (provided), which SwitchBot says will last for up to two years, based on 10 detections per day, with each lasting 30 minutes.
This sensor has a 120° detection width, so it can cover most of a room quite easily, but you do need to think about where you place it, as mmWave devices are more sensitive to movement than PIR ones, you want to naturally avoid movement you’re not interested in, such as automated blinds.
As with other SwitchBot devices, the SwitchBot mmWave Presence Sensor connects via Bluetooth, and just needs to be put into pairing mode by using the dedicated button. It will also connect to a SwitchBot hub automatically for remote control.
Although you need to be a bit careful where you point the SwitchBot mmWave Presence Sensor, it still needs calibrating for the space it’s in, to filter out motion and interference that you don’t want.
SwitchBot says to turn on all fans and air purifiers, leave the room, and then let its AI algorithm automatically configure the sensor. It takes about three minutes to complete this task. If you get any problems, you’ll need to run through the process again, and there’s no option to manually fine-tune detection.
I could adjust the detection range. It’s best to set this for the size of room that you’re in, so that the sensor won’t pick up motion from outside.
There are a few ways to operate the SwitchBot mmWave Presence Sensor, depending on what you want to do. For the fastest control, you can set the sensor to control any other SwitchBot device directly (well, up to two), whether that’s an original SwitchBot or even one of the new lamps, air purifiers or fans. For this to work, the SwitchBot mmWave Presence Sensor needs to be within Bluetooth range of a device.
Alternatively, you can get the SwitchBot mmWave Presence Sensor to operate any SwitchBot device connected to a Hub. This level of control is a little slower, but you can control a wider number of devices.
Both modes have a similar level of control, and the trigger can be when there is presence or no presence detected, or based on the light meter inside the sensor. SwitchBot’s detected light levels aren’t in Lux, but run from 0 to 20, with 20 the brightest.
Although SwitchBot’s range of products has grown a lot over the years, there’s a much bigger world out there, with a wider range of devices. Fortunately, if you have a SwitchBot Hub 3 (or other Matter compatible SwitchBot hub), you can get the sensor into other systems.
Well, partly. I added the SwitchBot mmWave Presence Sensor to both Apple Home and Homey, and neither of them picked up the light sensor, just the presence sensor.
Controls also vary by platform. With Apple Home, I could only trigger a routine when the SwitchBot mmWave Presence Sensor either detects or stops detecting occupancy. I couldn’t set a timer, say after 10 minutes with no one present.
With Homey, I could do both: simple presence detection, or wait a set number of minutes after presence was or wasn’t detected.
There is an option in the SwitchBot app to change the Unoccupied Timer. This is the amount of time the sensor waits after it detects that nobody is in the room. The default is 15s, but it’s possible to increase this to any time you want; the only issue is that this is a global setting that could affect future routines.
If, for example, I changed the SwitchBot setting to wait 10 minutes to report that a room is not occupied, but I use Homey and tell it to wait 10 minutes after no occupancy is detected to trigger a routine, then that’s a 20 minute wait in total.
To see how well the AI setup worked, I first configured the SwitchBot mmWave Presence Sensor to detect motion in my room without turning on my fans. When I later turned on my misting fan, the SwitchBot mmWave Presence Sensor immediately noted that the room was occupied.
I left the misting fan running, and then re-ran the AI configuration. This time, the fan no longer registered as movement, but the sensor would accurately detect me. Sitting within a couple of meters of the sensor, it properly detected that I was in the room, even if I sat still for a long period; that’s the benefit of mmWave over regular PIR.
Using Bluetooth, there was a danger, I thought, that the motion sensor wouldn’t be very quick to respond, but I was wrong. With the SwitchBot mmWave Presence Sensor set up, as soon as I entered my office, I’d get a notification saying that the space was occupied; walking out, I’d get another notification shortly after saying the space was unoccupied.
That’s good, but the notifications are actually a little annoying, and I don’t need to get one every time I walk into my office. I ended up turning off device notifications (Profile, Preferences, App Notifications and then Notification Management under Device Notifications).
Similarly, using a SwitchBot Hub 3 and Matter, I found that routines I created in Homey triggered fast, and there was no discernable difference between using the SwitchBot mmWave Presence Sensor and a more expensive, and feature-packed sensor, such as the Aqara Presence Multi-Sensor FP300.
The only time I had an issue with the SwitchBot mmWave Presence Sensor being slow was when I tried to edit its settings in the SwitchBot app. Sometimes establishing that Bluetooth connection can be slow; but, once configured, there’s little reason to make future changes, so it’s not a huge issue.
Buy something like the Aqara Presence Multi-Sensor FP300 and you get more detection options, plus the option to use Thread for direct connection. However, that device is quite a bit more expensive. If you’ve got a SwitchBot Hub already and primarily want mmWave presence detection, the SwitchBot mmWave Presence Sensor is a brilliant-value and reliable sensor. If you want basic motion detection, then my guide to the best motion sensors can help.
When we publish our reviews, you can rest assured that they are the result of “living with” long term tests.
Motion sensors usually live within an ecosystem, or a range of products that – supposedly – all work in harmony. And they are designed to offer a range of different cleaning options. Therefore, it’s impossible to use a motion sensor for a week and deliver a verdict.
Because we’re testing smart home kit all day, everyday, we know what matters and how a particular motion sensor compares to alternatives that you might also be considering.
Our reviews are comprehensive, objective and fair and, of course, we are never paid directly to review a device.